Pages & flow
Split a form across multiple pages and control how respondents move between them.
Multi-page forms#
Breaking a long form into pages keeps it approachable — respondents answer a few questions at a time and tap Next to continue. Each page is a step in the flow, and the page tabs along the bottom of the editor let you switch between them.
Page types#
- Cover — an optional intro screen with a single call-to-action button.
- Form — the default page type; holds your inputs.
- End — the thank-you screen shown after submission.
- Payment — a dedicated Stripe checkout page.
- Storefront — an e-commerce browse page built around one Storefront block.
- Login — gates the form behind email verification so respondents can resume or edit.
- Scheduling — a calendar / time-slot booking page.
- Review — a read-only recap of every answer, shown right before submit.
Add & manage pages#
Use the page tabs at the bottom of the canvas to add a page, and choose its type. From the same strip you can rename, duplicate, reorder, or delete a page. A new form starts with one Form page and an End page already wired together.
Page flow & jumps#
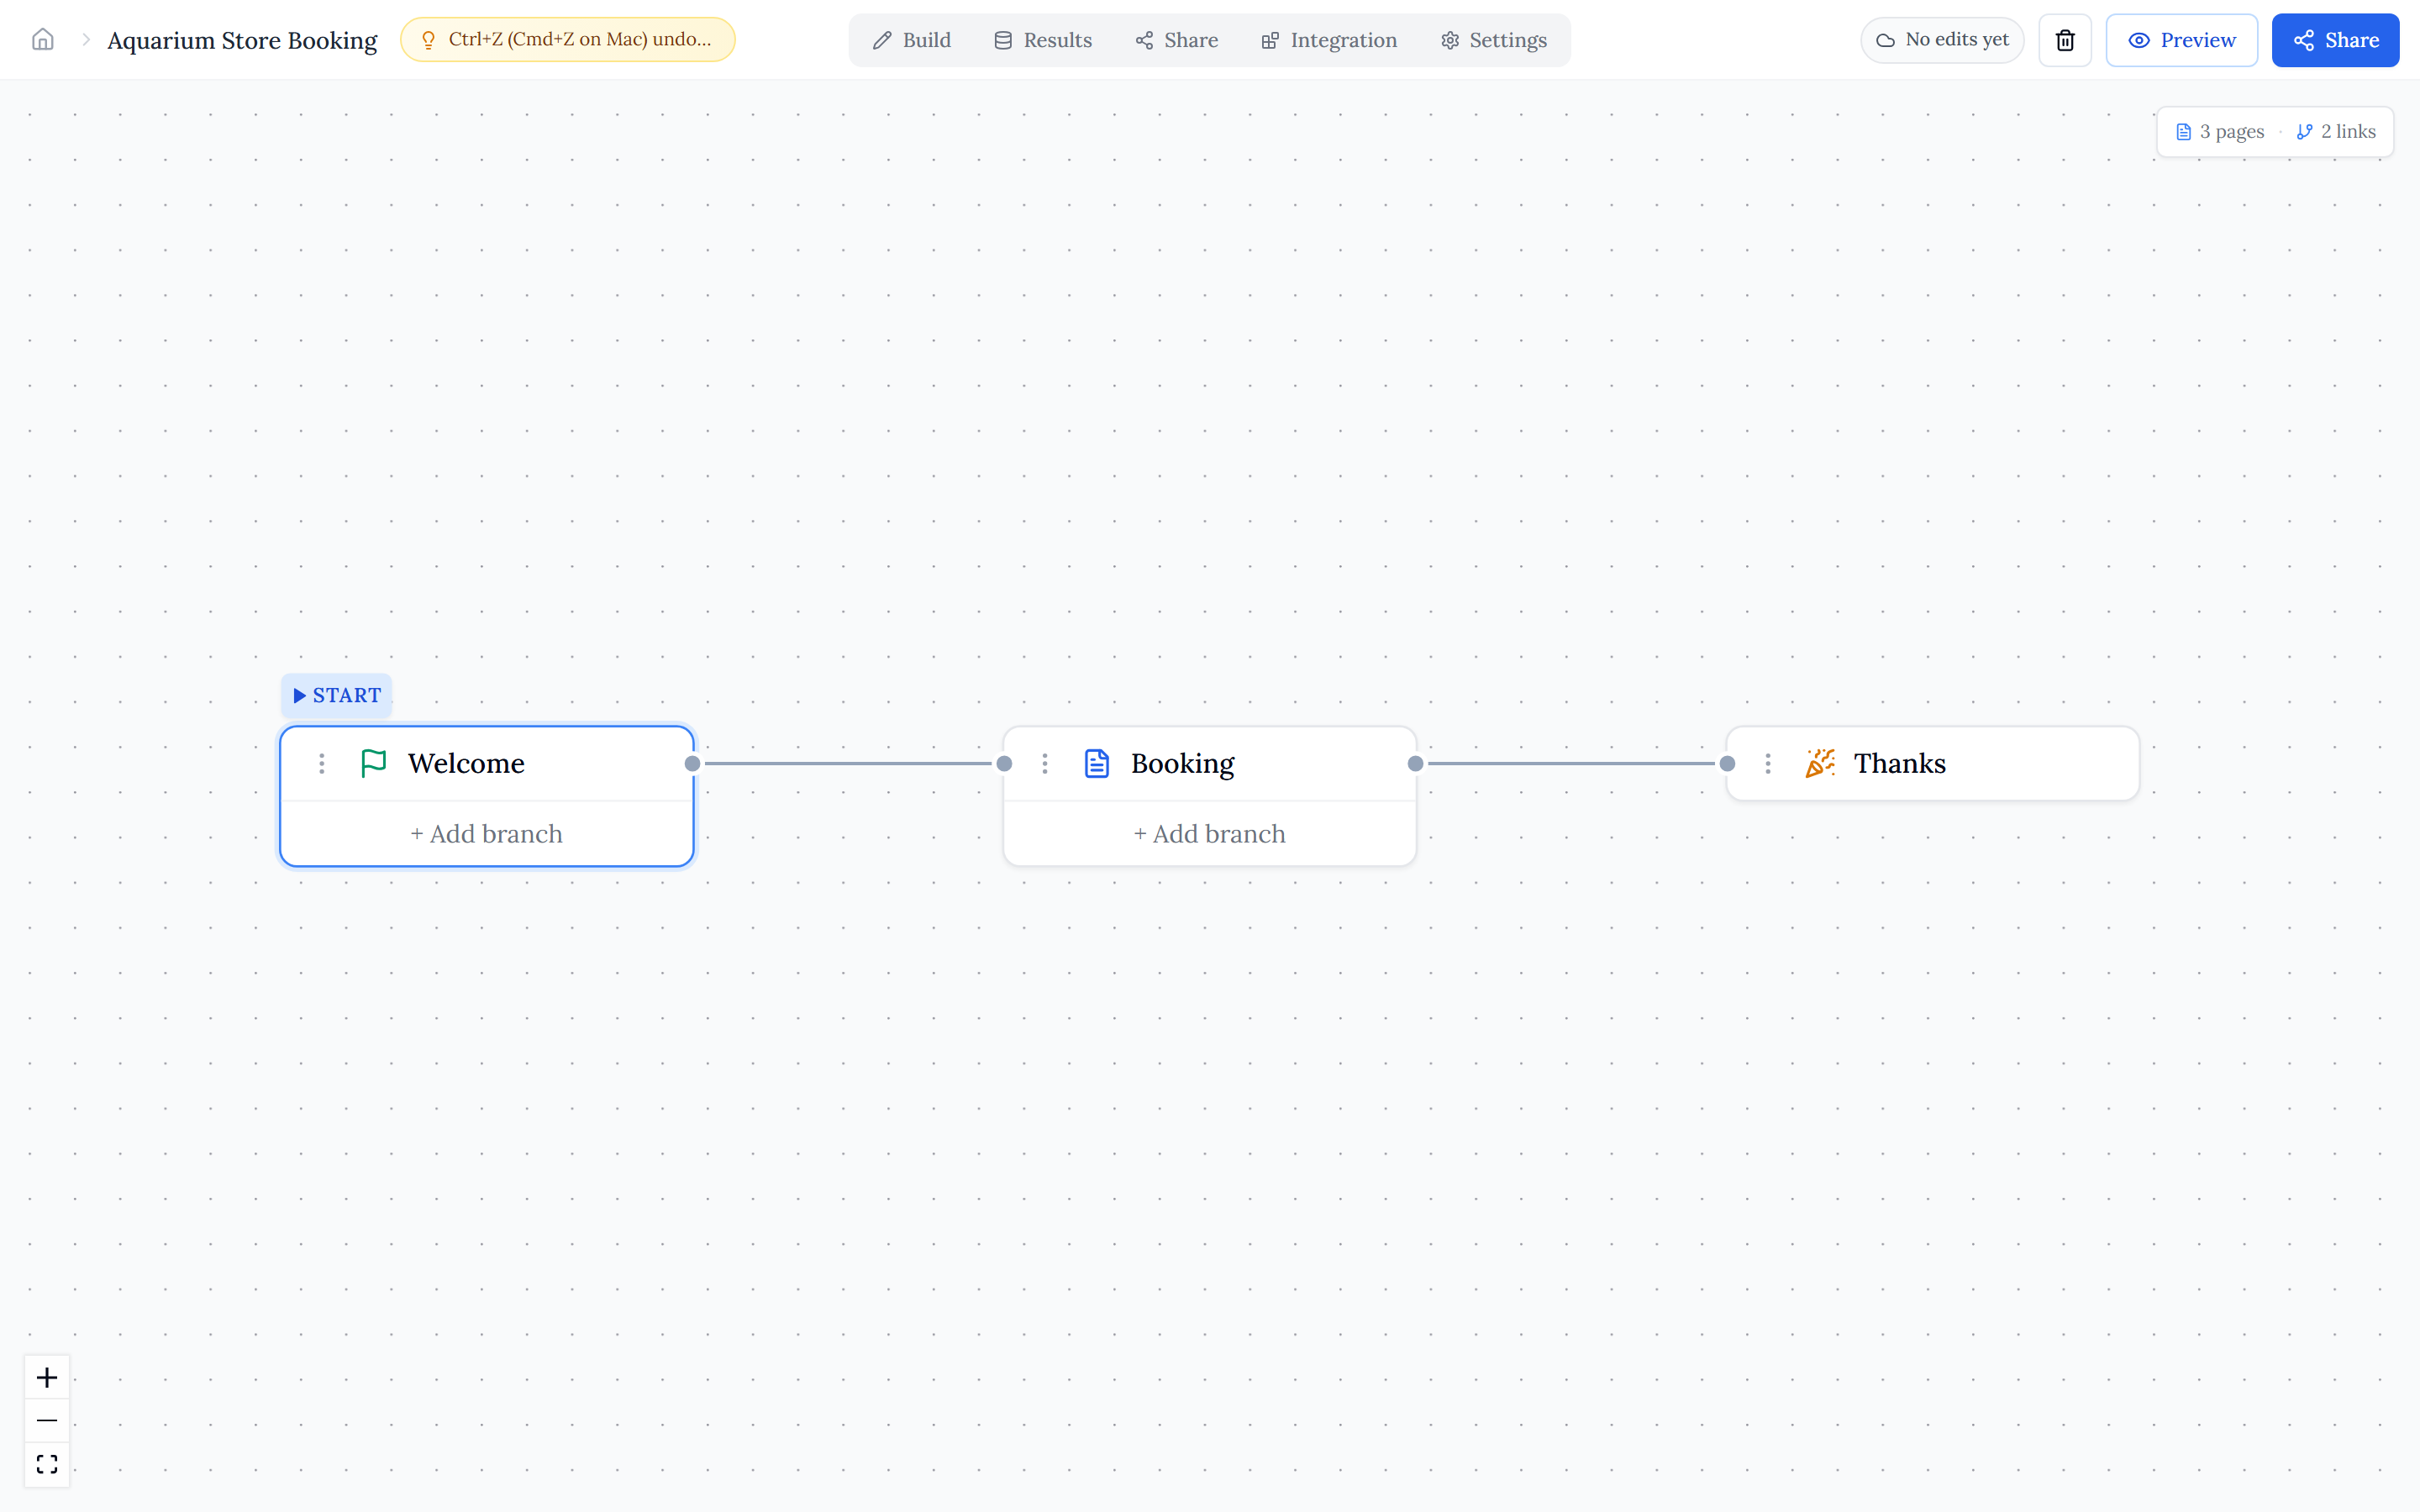
Switch to the Page Logic tab to see your pages as a graph. Each page has a default "next" handle that sets the main path, plus branch handles for conditional page jumps — "when this condition matches, go to that page instead of the default next."
Branches are evaluated in order and the first one whose condition matches wins; if none match, the respondent follows the default next page. This lets you build choose-your-own-path flows where answers route people to different sections.
Progress & per-page settings#
Respondents see a progress indicator as they advance through the pages. Each page also has its own settings in the editor — for example, an End page can play a celebration (Classic, Fireworks, or Balloons) when the respondent lands on it.