Google Drive
Save respondents' uploaded files to Google Drive — pick a destination folder per file-upload field.
How it works#
The Google Drive connector saves the files respondents upload straight into your Drive. You map each File Upload field in the form to a folder; every file submitted to that field is copied into the folder you chose. It's the natural companion to Google Sheets — the Sheet captures the text answers, Drive holds the actual files (resumes, ID photos, documents, signatures).
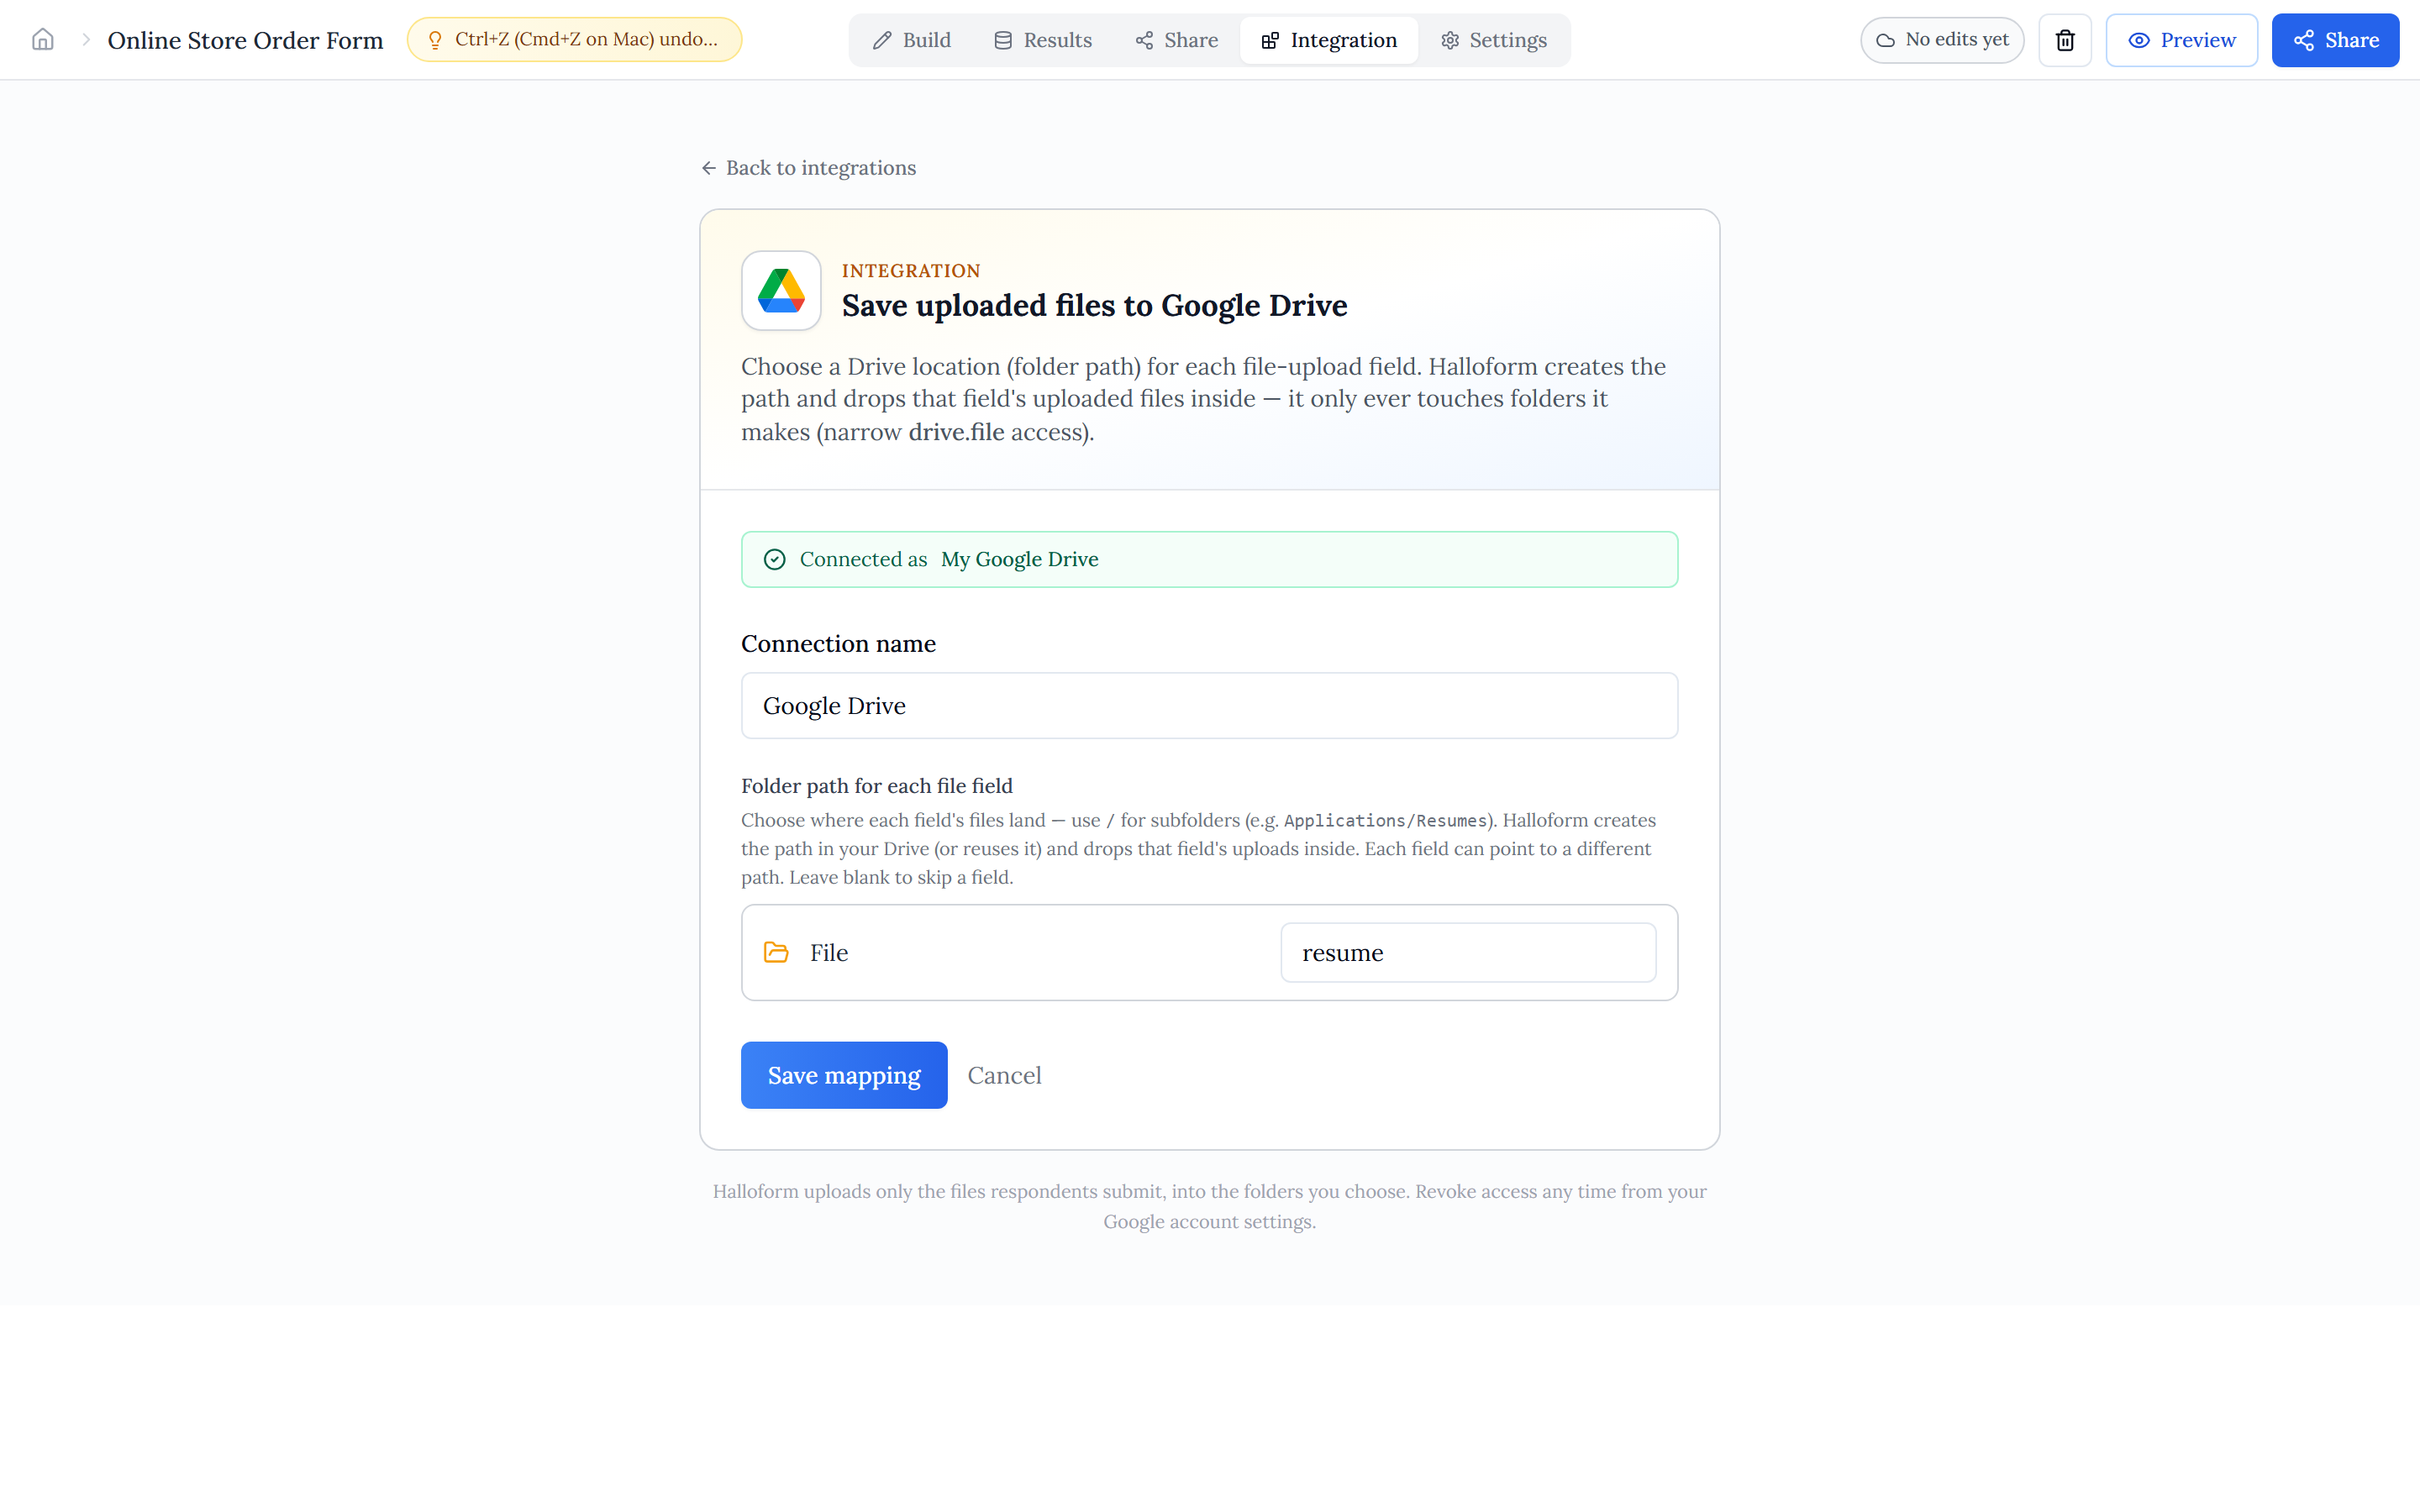
Connect Google Drive#
- Open your form's Integrations tab and choose Google Drive.
- Click Connect and sign in with the Google account whose Drive should receive the files.
- For each File Upload field, click Select folder and choose the destination from your Drive in the Google picker.
- Save. New submissions now copy each field's files into its folder automatically.
Subfolders & file names#
Under each field, open "Custom subfolder and file name?" to organise further. A subfolder is created inside the folder you picked — use a forward slash for nesting, e.g. {form}/{date}. A file-name template renames each upload, e.g. {name}-{field}. Available tokens: {name} (the original file name), {ext}, {field}, {date}, {form}, and {index}. Both are optional — leave them blank to drop files straight into the picked folder under their original names.
Good to know#
- Halloform uses the narrow drive.file permission — it can only touch the folders you pick in the picker (and subfolders it creates inside them), never the rest of your Drive.
- Picking a folder in the picker is what grants access to it, so the picker is the only way to point a field at one of your existing folders.
- You can revoke access at any time from your Google account's connected-apps settings.